Simple WebSocket Multiplayer
An asset by Zee GameDev
Install Asset
Install via Godot
To maintain one source of truth, Godot Asset Library is just a mirror of the old asset library so you can download directly on Godot via the integrated asset library browser

Quick Information

Simple WebSocket Multiplayer
Simple WebSocket Multiplayer for GodotA simple addon for Godot 4.x that provides a solid foundation for WebSocket-based multiplayer games, including a functional lobby, room system, and player synchronization. Mobile compatible.Features- Automatic server connection.- Simple lobby system (create/join rooms by code).- Synchronized match start.- Automatic spawning and management of player nodes.- Includes a ready-to-use Node.js server example.How to Start (Quick Guide)1. Install the Addon1.2 Copy the `SimpleMultiplayer` folder into your project's `addons/` directory.1.3. Go to **Project -> Project Settings... -> Plugins** and enable the "Simple WebSocket Multiplayer" plugin.2. Set Up & Run the ServerThe addon requires a Node.js server to run. The example server is in a separate repository.Find the Server Repository Here https://github.com/welson-rodrigues/ServidorWebSocketGodotTo run it locally, open the server's folder in a terminal and run `npm install`, then `node server.js`. For online play, a full tutorial on deploying to Render.com will be available in the video guide.Full Video Tutorial (Coming Soon!)3. Configure the URL in Godot3.1. In the Godot editor, go to Project -> Project Settings... -> Simple Multiplayer.3.2. Set the `Server Url` property: Local: `ws://127.0.0.1:9090` Online: `wss://your-server.onrender.com`How It WorksThe addon provides two global Singletons:`WebSocketClient`: Manages the connection and communication with the server. It emits signals for key events like `connection_succeeded`, `room_created`, `room_joined`, and `start_game`. Connect to these signals in your lobby script to manage the UI flow.`MultiplayerManager`: Automatically listens for server commands to spawn, remove, and update player positions. It requires a node named `PlayerContainer` in your game scene to function.Example ProjectFor a complete and functional example, explore the `/demo` folder in the addon's main repository. It contains all the necessary scenes and scripts to see the addon in action.Created by Zee GameDev.Visit my YouTube channel to learn how to use this addon!
Supported Engine Version
4.4
Version String
v3.3
License Version
MIT
Support Level
community
Modified Date
9 months ago
Git URL
Issue URL
Simple WebSocket Multiplayer for Godot
![]()
![]()
A simple addon for Godot 4.x that provides a solid foundation for WebSocket-based multiplayer games, including a functional lobby, room system, and player synchronization. Mobile compatible.
Features
- Automatic server connection.
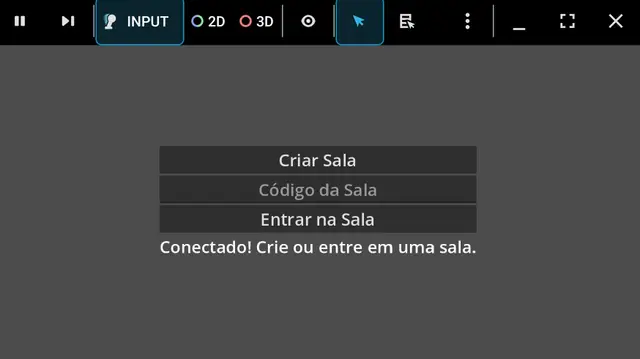
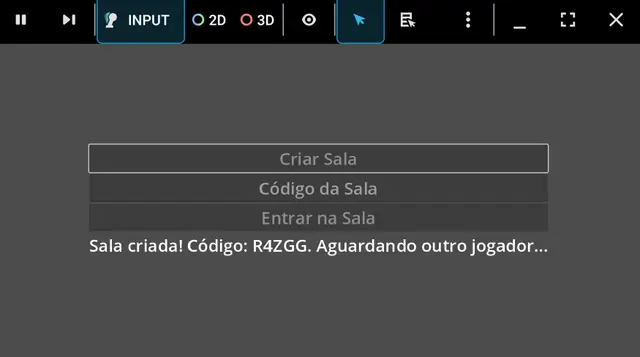
- Simple lobby system (create/join rooms by code).
- Synchronized match start.
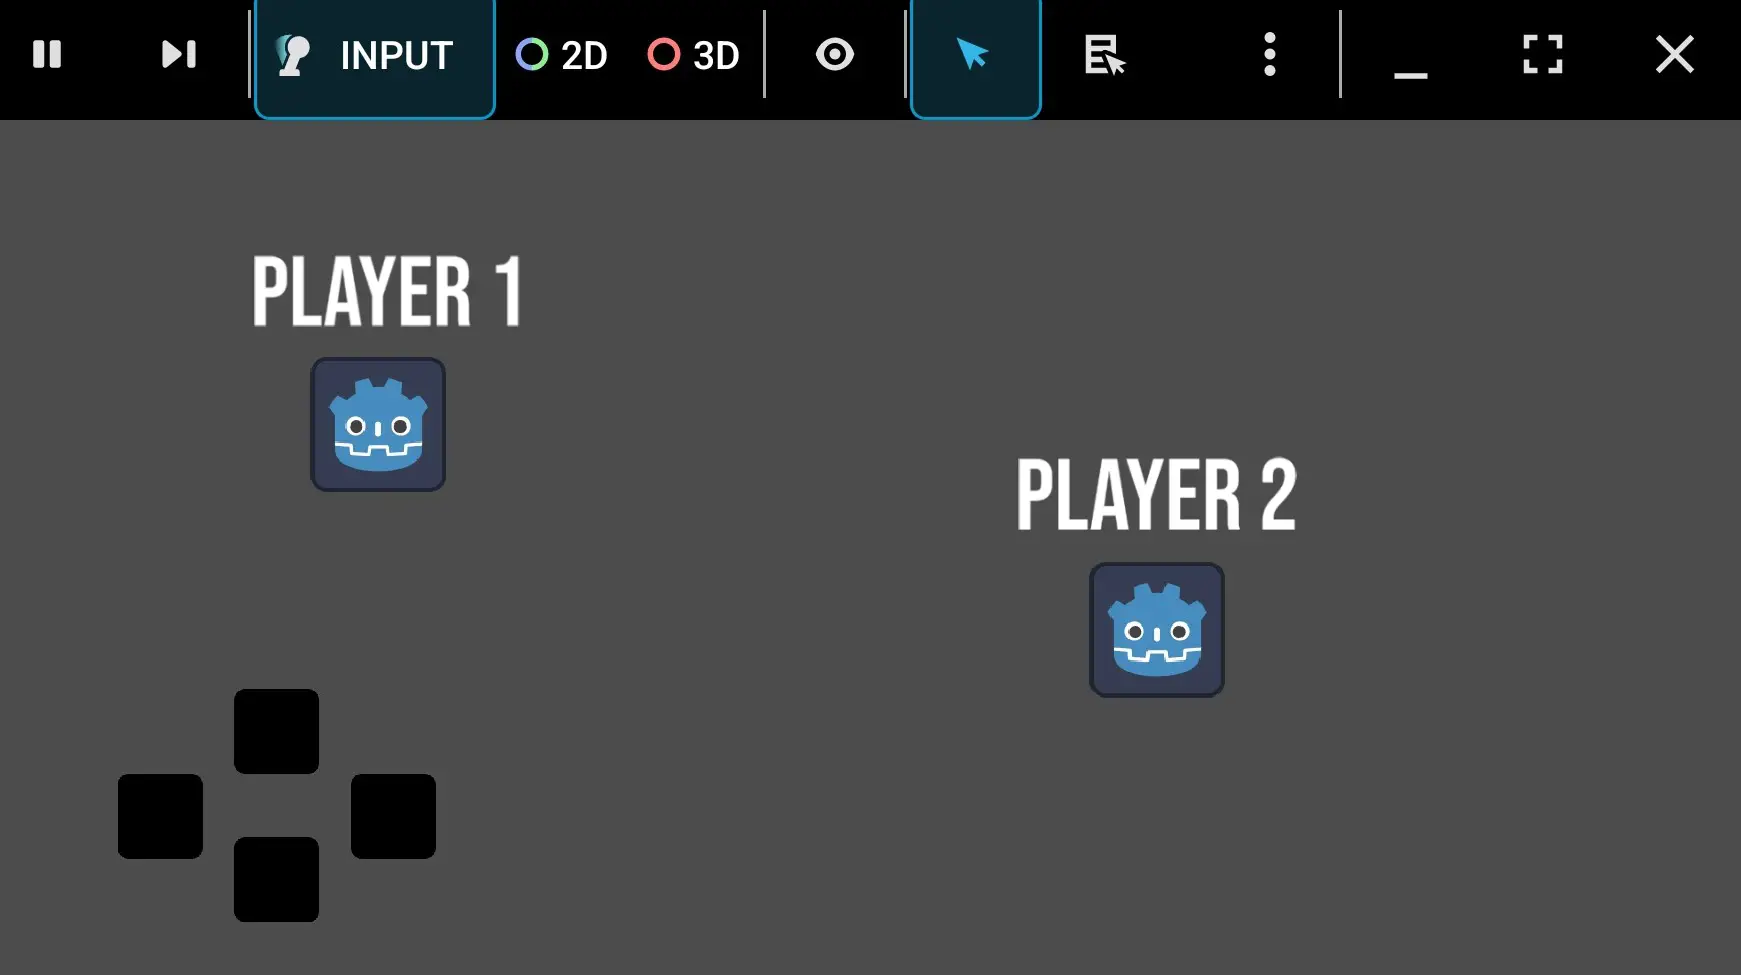
- Automatic spawning and management of player nodes.
- Includes a ready-to-use Node.js server example.
How to Start (Quick Guide)
1. Install the Addon
- Copy the
SimpleMultiplayerfolder into your project'saddons/directory. - Go to Project -> Project Settings... -> Plugins and enable the "Simple WebSocket Multiplayer" plugin.
2. Set Up & Run the Server
The addon requires a Node.js server to run. The example server is in a separate repository.
➡️ Find the Server Repository Here
To run it locally, open the server's folder in a terminal and run npm install, then node server.js. For online play, a full tutorial on deploying to Render.com will be available in the video guide.
➡️ [Full Video Tutorial (Coming Soon!)]
3. Configure the URL in Godot
- In the Godot editor, go to Project -> Project Settings... -> Simple Multiplayer.
- Set the
Server Urlproperty:- Local:
ws://127.0.0.1:9090 - Online:
wss://your-server.onrender.com
- Local:
How It Works
The addon provides two global Singletons:
WebSocketClient: Manages the connection and communication with the server. It emits signals for key events likeconnection_succeeded,room_created,room_joined, andstart_game. Connect to these signals in your lobby script to manage the UI flow.MultiplayerManager: Automatically listens for server commands to spawn, remove, and update player positions. It requires a node namedPlayerContainerin your game scene to function.
Example Project
For a complete and functional example, explore the /demo folder in the addon's main repository. It contains all the necessary scenes and scripts to see the addon in action.
License
This project is distributed under the MIT License. See the LICENSE file for more details.
Created by Zee GameDev. Visit my YouTube channel to learn how to use this addon! ➡️ [YouTube Channel]
Versão em Português
Um addon simples para Godot 4.x que fornece uma base sólida para jogos multiplayer via WebSockets, incluindo lobby, sistema de salas e sincronização de jogadores. Compatível com mobile.
Funcionalidades
- Conexão automática com o servidor.
- Sistema de lobby simples (criar/entrar em salas por código).
- Início de partida sincronizado.
- Gerenciamento e spawn automático de jogadores.
- Inclui um servidor de exemplo em Node.js.
Como Começar (Guia Rápido)
1. Instale o Addon
- Copie a pasta
SimpleMultiplayerpara a pastaaddons/do seu projeto. - Vá em Projeto -> Configurações do Projeto... -> Plugins e ative "Simple WebSocket Multiplayer".
2. Configure e Rode o Servidor
O addon precisa de um servidor Node.js. O servidor de exemplo está em um repositório separado.
➡️ Encontre o Repositório do Servidor Aqui
Para rodar localmente, abra a pasta do servidor no terminal e rode npm install, e depois node server.js. Para jogar online, o tutorial em vídeo ensinará como hospedar no Render.com.
➡️ [Tutorial em Vídeo Completo (Em Breve!)]
3. Configure a URL no Godot
- No editor, vá em Projeto -> Configurações do Projeto... -> Simple Multiplayer.
- Defina a
Server Url:- Local:
ws://127.0.0.1:9090 - Online:
wss://seu-servidor.onrender.com
- Local:
Como Funciona
O addon disponibiliza dois Singletons globais:
WebSocketClient: Gerencia a comunicação e emite sinais para eventos comoconnection_succeeded,room_created,room_joinedestart_game. Conecte-se a esses sinais no seu lobby.MultiplayerManager: Escuta os comandos do servidor para criar, remover e atualizar os jogadores. Ele precisa de um nó chamadoPlayerContainerna sua cena de jogo para funcionar.
Projeto de Exemplo
Para um exemplo completo e funcional, explore a pasta /demo no repositório principal do addon.
Simple WebSocket Multiplayer for Godot
A simple addon for Godot 4.x that provides a solid foundation for WebSocket-based multiplayer games, including a functional lobby, room system, and player synchronization. Mobile compatible.
Features
- Automatic server connection.
- Simple lobby system (create/join rooms by code).
- Synchronized match start.
- Automatic spawning and management of player nodes.
- Includes a ready-to-use Node.js server example.
How to Start (Quick Guide)
1. Install the Addon
1.2 Copy the `SimpleMultiplayer` folder into your project's `addons/` directory.
1.3. Go to **Project -> Project Settings... -> Plugins** and enable the "Simple WebSocket Multiplayer" plugin.
2. Set Up & Run the Server
The addon requires a Node.js server to run. The example server is in a separate repository.
Find the Server Repository Here https://github.com/welson-rodrigues/ServidorWebSocketGodot
To run it locally, open the server's folder in a terminal and run `npm install`, then `node server.js`. For online play, a full tutorial on deploying to Render.com will be available in the video guide.
Full Video Tutorial (Coming Soon!)
3. Configure the URL in Godot
3.1. In the Godot editor, go to Project -> Project Settings... -> Simple Multiplayer.
3.2. Set the `Server Url` property:
Local: `ws://127.0.0.1:9090`
Online: `wss://your-server.onrender.com`
How It Works
The addon provides two global Singletons:
`WebSocketClient`: Manages the connection and communication with the server. It emits signals for key events like `connection_succeeded`, `room_created`, `room_joined`, and `start_game`. Connect to these signals in your lobby script to manage the UI flow.
`MultiplayerManager`: Automatically listens for server commands to spawn, remove, and update player positions. It requires a node named `PlayerContainer` in your game scene to function.
Example Project
For a complete and functional example, explore the `/demo` folder in the addon's main repository. It contains all the necessary scenes and scripts to see the addon in action.
Created by Zee GameDev.
Visit my YouTube channel to learn how to use this addon!
Reviews
Quick Information
Simple WebSocket Multiplayer
Simple WebSocket Multiplayer for GodotA simple addon for Godot 4.x that provides a solid foundation for WebSocket-based multiplayer games, including a functional lobby, room system, and player synchronization. Mobile compatible.Features- Automatic server connection.- Simple lobby system (create/join rooms by code).- Synchronized match start.- Automatic spawning and management of player nodes.- Includes a ready-to-use Node.js server example.How to Start (Quick Guide)1. Install the Addon1.2 Copy the `SimpleMultiplayer` folder into your project's `addons/` directory.1.3. Go to **Project -> Project Settings... -> Plugins** and enable the "Simple WebSocket Multiplayer" plugin.2. Set Up & Run the ServerThe addon requires a Node.js server to run. The example server is in a separate repository.Find the Server Repository Here https://github.com/welson-rodrigues/ServidorWebSocketGodotTo run it locally, open the server's folder in a terminal and run `npm install`, then `node server.js`. For online play, a full tutorial on deploying to Render.com will be available in the video guide.Full Video Tutorial (Coming Soon!)3. Configure the URL in Godot3.1. In the Godot editor, go to Project -> Project Settings... -> Simple Multiplayer.3.2. Set the `Server Url` property: Local: `ws://127.0.0.1:9090` Online: `wss://your-server.onrender.com`How It WorksThe addon provides two global Singletons:`WebSocketClient`: Manages the connection and communication with the server. It emits signals for key events like `connection_succeeded`, `room_created`, `room_joined`, and `start_game`. Connect to these signals in your lobby script to manage the UI flow.`MultiplayerManager`: Automatically listens for server commands to spawn, remove, and update player positions. It requires a node named `PlayerContainer` in your game scene to function.Example ProjectFor a complete and functional example, explore the `/demo` folder in the addon's main repository. It contains all the necessary scenes and scripts to see the addon in action.Created by Zee GameDev.Visit my YouTube channel to learn how to use this addon!
Supported Engine Version
4.4
Version String
v3.3
License Version
MIT
Support Level
community
Modified Date
9 months ago
Git URL
Issue URL