2D Spawner Plugin
An asset by ArtinTheCoder
Install Asset
Install via Godot
To maintain one source of truth, Godot Asset Library is just a mirror of the old asset library so you can download directly on Godot via the integrated asset library browser
Quick Information


2D Spawner Plugin
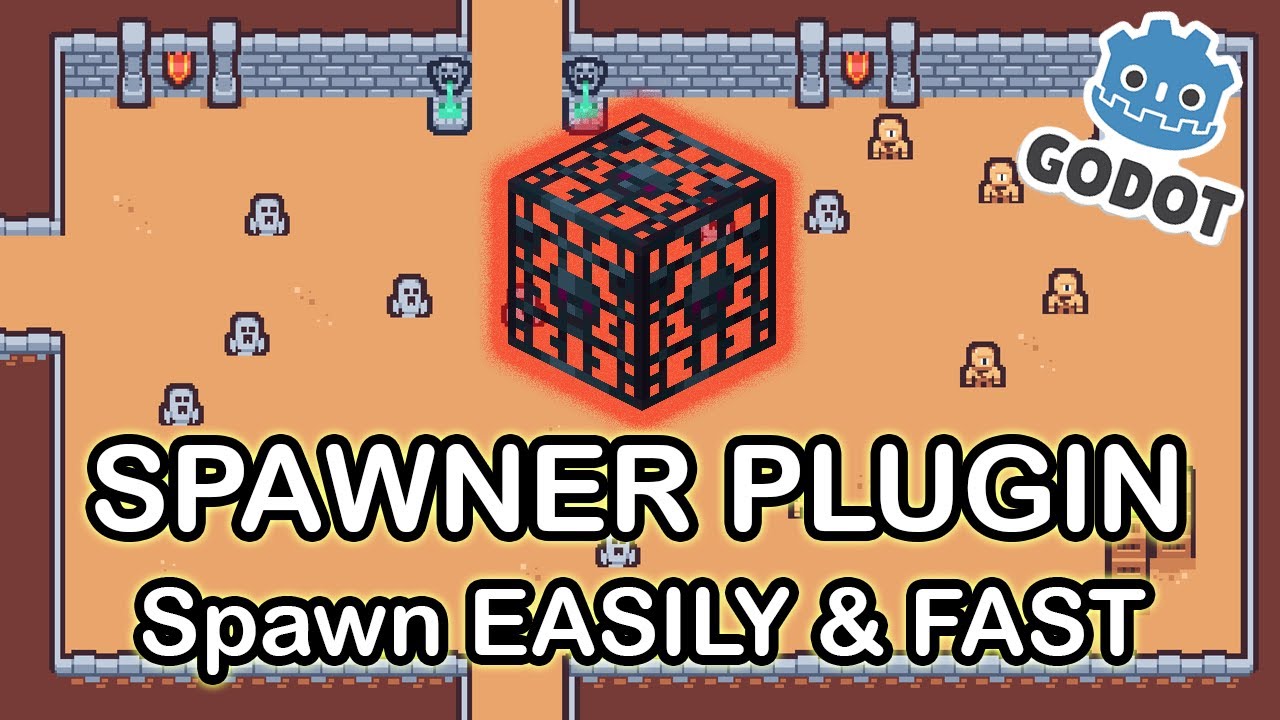
This plugin will make spawning 2D enemies/objects in Godot 4.0x easier!
Supported Engine Version
4.0
Version String
1.5
License Version
MIT
Support Level
community
Modified Date
12 days ago
Git URL
Issue URL
# Spawner
Make an issue on github if you want to add anything or report a bug. Also thanks to micycle8778 for their customizable packed scene script
- Download the project files.
- Move the
spawnerfolder into your/addonsfolder inside your Godot project. - Enable the addon through the project settings, and start spawning endless amount of enemies with ease!
Key Features
There are multiple new nodes with this addon! The following are Spawner Container, Spawner, and Multiple Spawner.
Videos
Spawner Container
The Spawner Container must be used as the parent of either the Spawner or Multiple Spawner nodes.
In the Inspector you can:
- Manually start or stop the waves as soon as the game loads (_ready()).
- A max number of active enemies.
In the signals:
- Remotely start or stop the wave.
Here is an example on what the signal connections would look like from the Spawner Container into your level script:
extends Node2D

@onready var single_enemy_spawner_container_node  = $SpawnerContainer

func _on_start_single_pressed():
    single_enemy_spawner_container_node.start_wave.emit(true)

func _on_stop_single_pressed():
    single_enemy_spawner_container_node.start_wave.emit(false)
Spawner
The Enemy Spawner must have its enemy scene and max enemy spawn amount set in the Inspector.
You can also:
Change the time between each spawn (in seconds).
Enable custom spawn area if you want enemies to spawn in a specific region.
To use a custom spawn area:
Add a CollisionShape.
Set its shape to Rectangle.
Make sure to disable it.
Then, in the Spawner, set that CollisionShape as the spawn area.
In the signals:
Emits a signal on how many enemies are spawned.
Emits a signal that passes a parameter of the object spawned.
Emits a signal once that spawner finished spawning.
Here is an example on what the signal connections would look like in your level script:
extends Node2D

@onready var single_enemy_spawner_node  = $SpawnerContainer/Spawner

func _ready():
    single_enemy_spawner_node.enemy_spawned.connect(single_spawner_enemy_spawned)
    single_enemy_spawner_node.amount_enemy_spawned.connect(single_spawner_amount_of_enemy_spawned)
    single_enemy_spawner_node.finished_spawning.connect(single_spawner_finished_spawning)

func single_spawner_enemy_spawned(enemy):
    print("Enemy name: " + str(enemy.name))

func single_spawner_amount_of_enemy_spawned(amount):
    print("Single enemy spawner spawned: " + str(amount))

func single_spawner_finished_spawning():
    print("Single enemy spawner finished spawning.")
Multiple Spawner
The Multiple Spawner works similarly to the normal Spawner, but with some differences.
In the Inspector you have to:
Open the Enemy Scene Array and add a new element.
Click New EnemyResource for each enemy you want to add.
Inside each EnemyResource, select the enemy scene, set the chance for it to spawn, the maximum amount of that enemy to spawn, and its size in pixels.
You can also:
Change the time between each spawn (in seconds).
Enable custom spawn area if you want enemies to spawn in a specific region.
To use a custom spawn area:
Add a CollisionShape.
Set its shape to Rectangle.
Make sure to disable it.
Then, in the Spawner, set that CollisionShape as the spawn area.
In the signals:
Emits a signal on how many enemies are spawned.
Emits a signal that passes a parameter of the object spawned.
Emits a signal once that spawner finished spawning.
Here is an example on what the signal connections would look like in your level script:
extends Node2D

@onready var multi_enemy_spawner_node  = $SpawnerContainer/MultipleSpawner

func _ready():
    multi_enemy_spawner_node.enemy_spawned.connect(multiple_spawner_enemy_spawned)
    multi_enemy_spawner_node.amount_enemy_spawned.connect(multiple_spawner_amount_enemy_spawned)
    multi_enemy_spawner_node.finished_spawning.connect(multiple_spawner_finished_spawning)

func multiple_spawner_enemy_spawned(enemy):
    print("Enemy name: " + str(enemy.name))

func multiple_spawner_amount_enemy_spawned(amount):
    print("Multiple enemy spawner spawned: " + str(amount))

func multiple_spawner_finished_spawning():
    print("Multiple enemy spawner finished spawning.")
This plugin will make spawning 2D enemies/objects in Godot 4.0x easier!
Reviews
Quick Information
2D Spawner Plugin
This plugin will make spawning 2D enemies/objects in Godot 4.0x easier!
Supported Engine Version
4.0
Version String
1.5
License Version
MIT
Support Level
community
Modified Date
12 days ago
Git URL
Issue URL