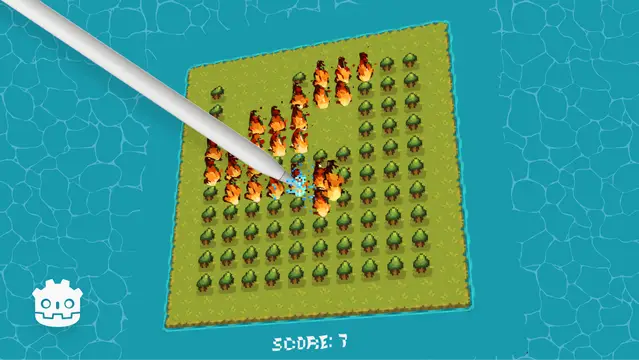
A mini-game where you try to save your forest from an ever-intensifying fire. Best played on tablet or touchscreen.Read more on Github:https://github.com/ImAvafe/godot-firefight
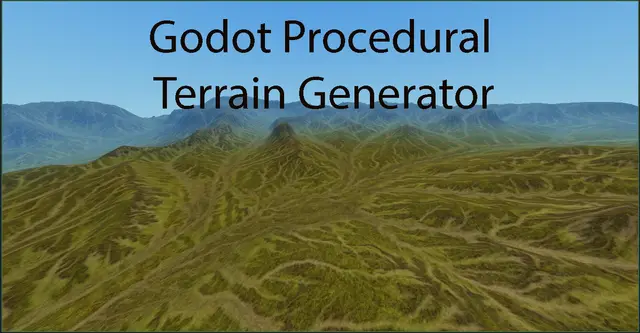
Procedural terrain generation for Godot 4 based on MeshInstance3D and a height map. Generation is available both in the editor and during execution.Usage1. Attach the terrain_generator.gd script to a MeshInstance3D node.2. Set the Heightmap: Set height map texture (e.g., PNG, JPG, etc.).3. Adjust the Subdivisions property to control the terrain detail. Be careful, as a subdivisions value greater than the map size may result in "steps" on the surface!4. Configure the data saving path if you want to use it in the editor, and click "Generate Landscapes". Now you can generate the landscape in advance and use it without having to generate a mesh every time you run!Tested on Godot 4.4. It’s public domain, so use it however you want!
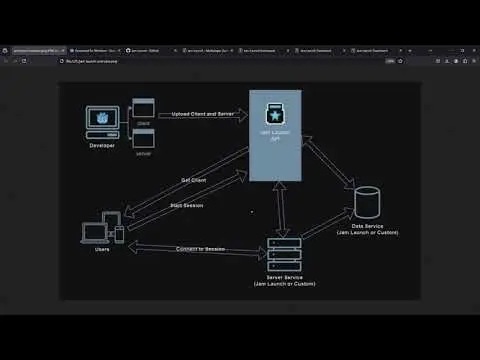
A simple Godot project meant to demonstrate Jam Launch multiplayer capabilitiesLearn more at https://jamlaunch.com
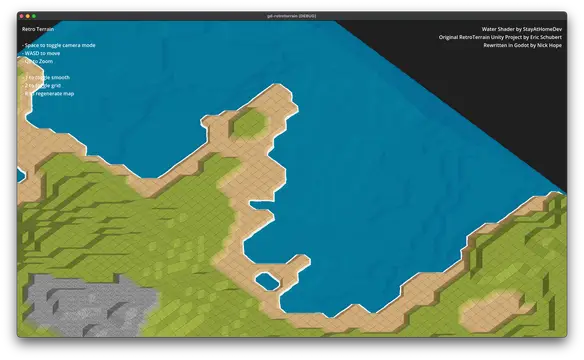
Tile-based 3D terrain example, similar to old-school strategy and management games. If you want to replicate the terrain in Rollercoaster Tycoon, this is a great place to start.Now uses GDScript and Godot 4.3+.Last update: Godot 4.4 support, better terrain edges, editor preview.
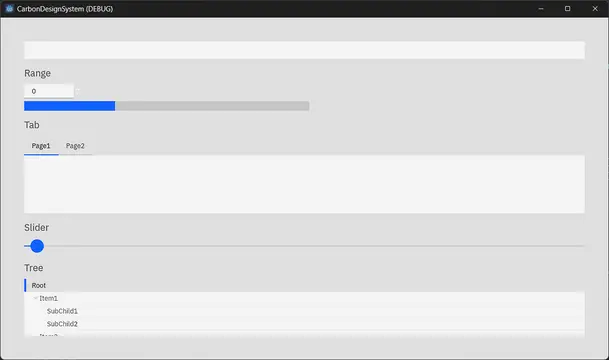
Carbon Design System, now in Godot!
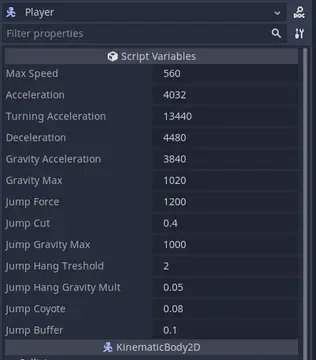
This CharacterBody2D controller demo was created with the intent of being a decent starting point for Precision Platformers using Godot. Instead of teaching the basics, I tried to implement more advanced considerations seen in the following video: https://www.youtube.com/watch?v=2S3g8CgBG1gThat's why I call it 'Movement 2'. This is a sequel to learning demos of similar a kind.After playing around with the demo, you could potentially just copy over the Player.gd script and form it to your needs. Another option is to take the project as is and add to or subtract from it until you have a complete game.This project is also on itch.io: https://theothetorch.itch.io/movement-2
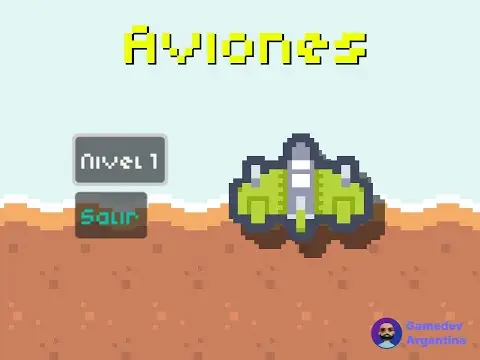
Juego de aviones (Plane game demo)Este es el primer proyecto que les enseño a mis alumnos de creación de videojuegos con Godot.Es un Juego / Template que tiene un menú de selección de nivel, y un nivel en el que podés luchar contra 3 tipos de enemigos distintos.Ideal para estudiar el código y aprender conceptos básicos de godotmás info sobre los cursos en gamedevargentina.comEng:Plane game demoThis is the first project I teach my students in game development with Godot.It is a Game / Template that has a level selection menu, and a level in which you can fight against 3 different types of enemies.Ideal for studying the code and learning basic concepts of Godotmore info about the courses at gamedevargentina.com
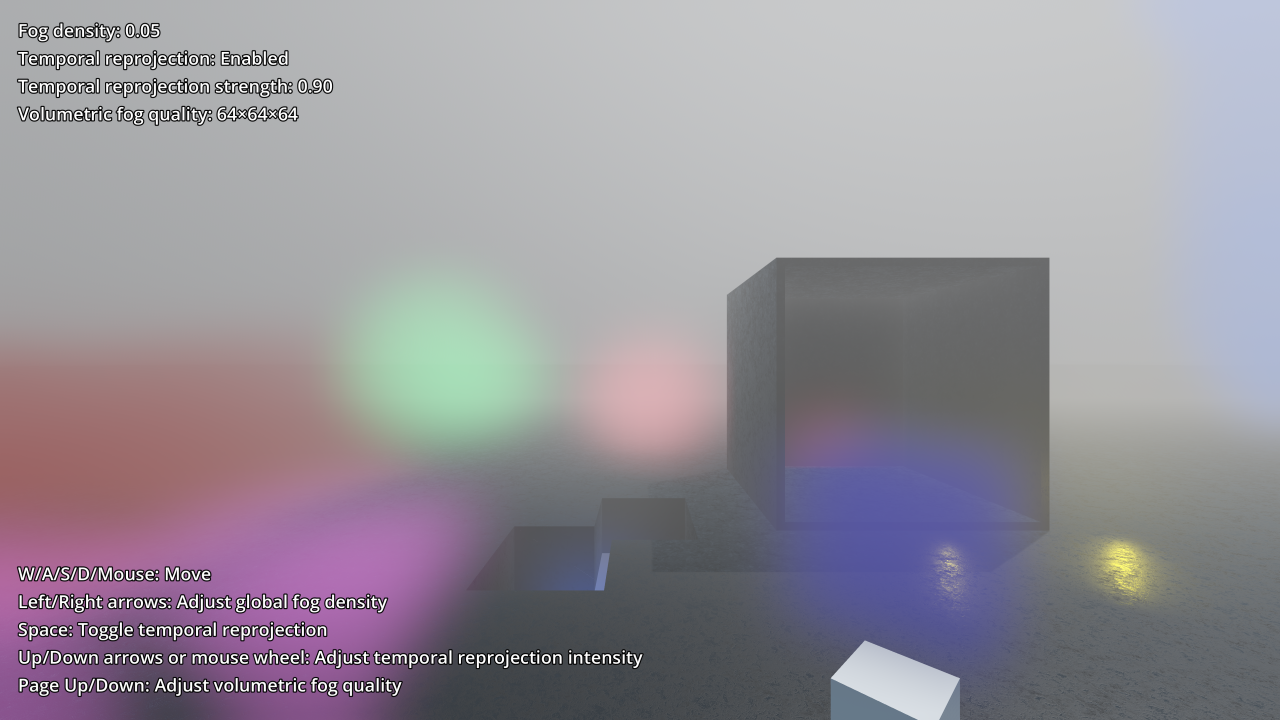
This is an example of Godot's volumetric fog capabilities with the Vulkan renderer.Showcased features are:- Positive/negative density volumes that affect albedo (incoming light) and emission.- Box/ellipsoid shapes, height falloff, and density modulation using a 3D texture.- Temporal reprojection for greater stability and avoiding flickering. The difference is demonstrated with a moving fog volume.- Global density adjustment. With FogVolume nodes that have a positive density, it's possible to apply volumetric fog only in specific areas.- Custom FogVolume shader with real-time 3D noise. Shader provided by alghost: https://godotshaders.com/shader/moving-gradient-noise-fog-mist-for-godot-4/Language: GDScriptRenderer: Forward+
A simple example scene, showing how to create a FPS camera.If you'd like to give me some feedback, or you'd like to help improve this demo, please leave a comment here:https://github.com/tavurth/godot-simple-fps-camera/issues
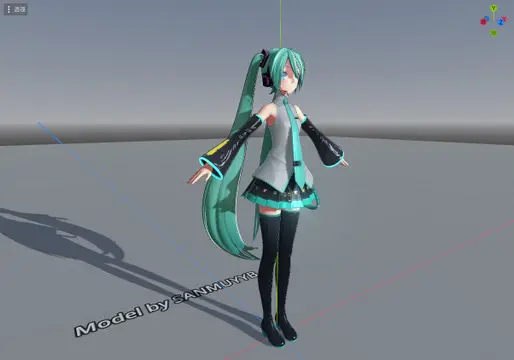
demo version: Godot 4.4 rc-3 .NETThis tool allow you Import PMX model. And import vmd animation to animate camera and model. This plugin depends on BulletSharpPInvoke.You can get libbullectc.dll from BulletSharpPInvoke's demo. Copy it to project directory. The link is below.https://github.com/AndresTraks/BulletSharpPInvoke/releasesTo compile BulletSharpPInvoke, you can check out my fork.https://github.com/sselecirPyM/BulletSharpPInvokeVideo Tutorial (Chinese):https://www.bilibili.com/video/BV1pKY3e5EHn/
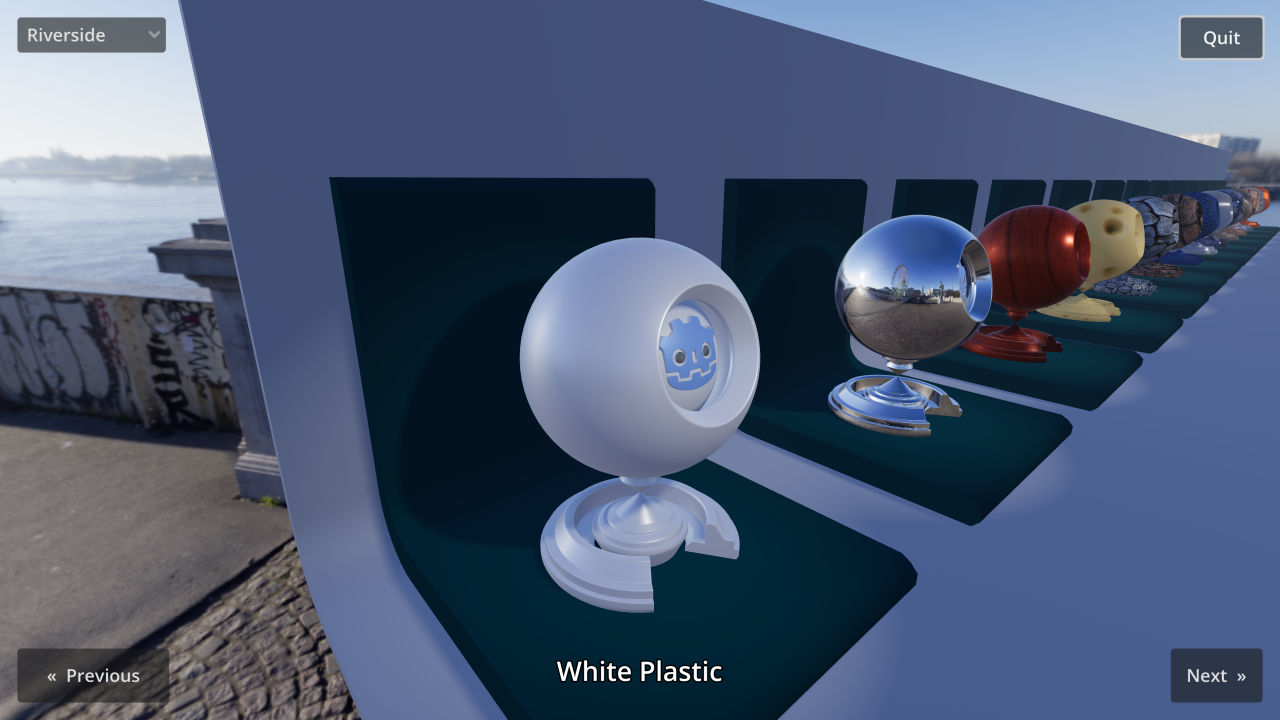
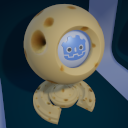
This demo includes many sphere-like objects with complex materials, for the purpose of showcasing Godot's rendering capabilities.This demo was featured at the beginning of the Godot 3.0 trailer: https://www.youtube.com/watch?v=XptlVErsL-oLanguage: GDScriptRenderer: Forward+
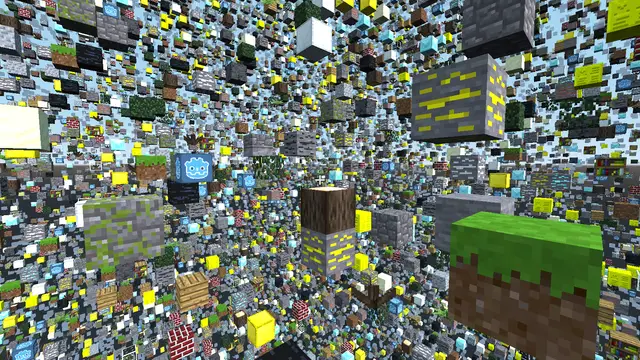
This demo is a minimal first-person voxel game, inspired by others such as Minecraft.How it works:Each chunk is a StaticBody3D with each block having its own CollisionShape3D for collisions. The meshes are created using SurfaceTool which allows specifying vertices, triangles, and UV coordinates for constructing a mesh.See documentation for procedural geometry generation: https://docs.godotengine.org/en/stable/tutorials/3d/procedural_geometry/index.htmlThe chunks and chunk data are stored in dictionaries. New chunks have their meshes drawn in separate Threads but generating the collisions is done in the main thread, since Godot does not support changing physics objects in a separate thread. There are two terrain types, random blocks and flat grass. A more complex terrain generator is out-of-scope for this demo project.See documentation for more information on using multiple threads: https://docs.godotengine.org/en/stable/tutorials/performance/using_multiple_threads.htmlThe player can place and break blocks using the RayCast3D node attached to the camera. It uses the collision information to figure out the block position and change the block data. You can switch the active block using the brackets or with the middle mouse button.There is a settings menu for render distance and toggling the fog. Settings are stored inside of an AutoLoad singleton called "Settings": https://docs.godotengine.org/en/latest/getting_started/step_by_step/singletons_autoload.htmlThis class will automatically save settings, and load them when the game opens, by using the File class.Sticking to GDScript and the built-in Godot tools, as this demo does, can be limiting. If you are making your own voxel game, you should probably use Zylann's voxel module instead: https://github.com/Zylann/godot_voxelLanguage: GDScriptRenderer: Forward+