jlivingston-Cipher
Breakpoint MCP
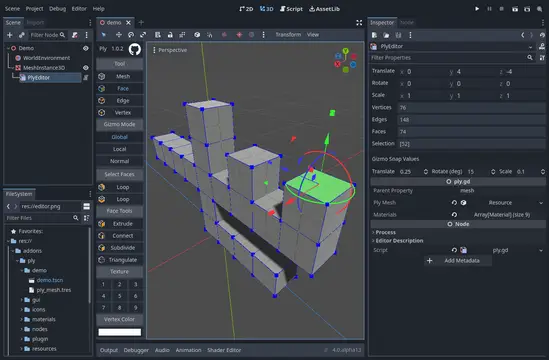
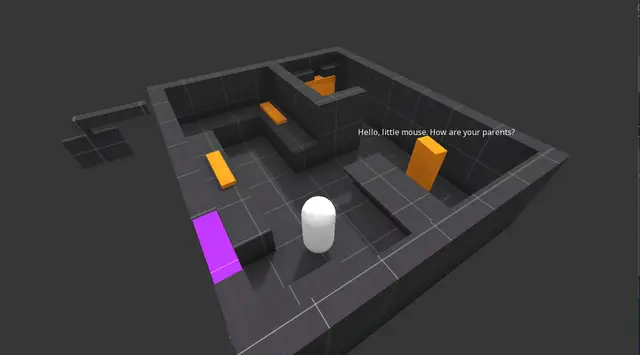
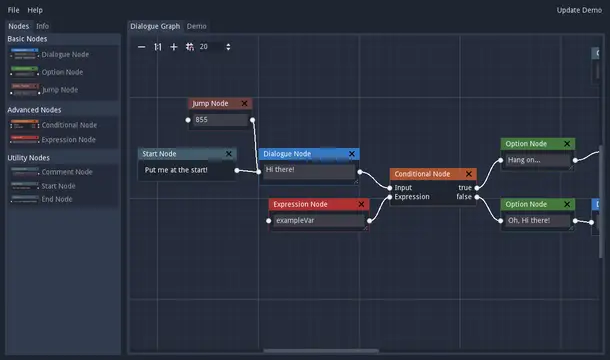
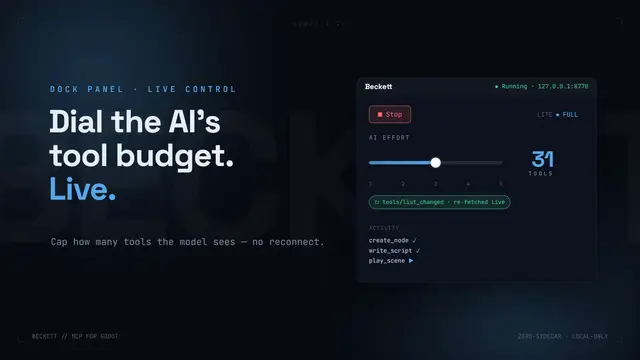
Breakpoint MCP exposes the live Godot editor — and, through an in-game runtime autoload, your running game — to an MCP (Model Context Protocol) host, so an AI assistant can drive Godot directly instead of guessing at your project from the outside.The addon runs a loopback-only TCP/JSON bridge on 127.0.0.1, authenticated with a per-project shared secret. Paired with its companion host (the "breakpoint-mcp" npm package, which your MCP client launches), it gives an assistant 289 tools — 276 with the higher-trust capability group off by default — across four capability planes:- Editor authoring: scene / node / resource CRUD, project settings, ClassDB introspection, and editor screenshots. Every mutation is wrapped in EditorUndoRedoManager, so anything the assistant changes is fully undoable.- In-game runtime bridge: inspect the live SceneTree, get/set properties, call methods, emit signals, inject input, and read Performance monitors while the game is running — plus deterministic playtesting (freeze time, step an exact number of frames, seed the RNG, and snapshot state for frame-by-frame comparison), live AnimationPlayer control, node spawn/despawn, an await-condition helper, and a read-only verification family (assert node / scene / on-screen-text / performance state, and screenshot diffs).- Language + debug (GDScript and C#): symbols, definitions, completions, and diagnostics via Godot's own Language Server (and OmniSharp for C#), plus real breakpoint/step debugging over the Debug Adapter Protocol (and netcoredbg for C#).- Headless CLI: run, export, import, and run headless tests; long jobs use the MCP task model.Human-in-the-loop control: destructive tools are confirmation-gated, the higher-trust tools sit in a default-off capability group, and a one-click "Pause Agent" toggle in the editor dock lets you hold the assistant's actions on demand. Nothing on the tool surface reaches past loopback.Requirements: Godot 4.2+ (4.4+ recommended — several editor tools use APIs added in 4.4; a few runtime-capture features use 4.5+). The host requires Node.js 18+. Works with any MCP-compatible client; developed and tested with Claude.Install: copy addons/breakpoint_mcp/ into your project (or install via the Asset Library), then enable it under Project > Project Settings > Plugins > Breakpoint MCP. On enable it listens on 127.0.0.1:9080 and auto-registers the in-game runtime autoload. Point your MCP client at the breakpoint-mcp host — see the repository README for client setup.Security: the bridge binds to loopback only, requires a per-project shared secret, and handlers run on the editor main thread. Treat the port as a local trust boundary; do not expose it beyond 127.0.0.1.Open source under the MIT license. Full tool catalog, user guide, and configuration reference are in the repository.