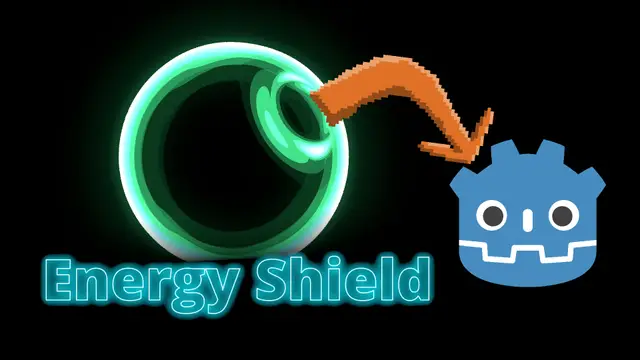
This addon for Godot provides an energy shield that can be easily integrated into your scenes. You can use either the shield_plane.tscn or shield_sphere.tscn directly, or apply the shader to other materials. Note that some adjustments may be needed to ensure proper functionality on meshes other than planes and spheres.Showcase Video: https://youtu.be/0YiZSrtxtcgGitHub Repo: https://github.com/nojoule/energy-shield
Check out the full documentation in the GitHub repository: https://github.com/cashew-olddew/Universal-Transition-ShaderThis shader provides a flexible and highly customizable system for creating animated transitions between visual elements in a Godot project. It supports a wide variety of transition styles, such as:- Directional Wipes: (left, right, top, bottom, diagonal)- Clock Wipes: (radial, with multi-sector support)- Iris/Shape Reveals: (polygon-based transitions with any number of sides)- Dissolves- Fades- Slides- Combinations & Variations
# VisualShader-IdMapVisualShader IdMap masking NodeIncludes:IDMap Sampler : Idmap by Sampler2DIDMap Texture : Idmap by Texture2DInputs:* IdMap Texture : IdMap Image Texture* Colorkey : Color to extract mask from IdMap Texture* Tolerance : Color values tolerance (Default = 0.05)Output:* Mask : Float value of the resultant maskCheck out CiaNCI Chanel on YouTube for more: https://www.youtube.com/@CiaNCIStudio
Modified from Lanza Schneider's code: https://github.com/LanzaSchneider/godot-xBRZ/tree/mainYour mileage may vary for other versions of Godot, but my assumption is v4+ will work with little or no changes.
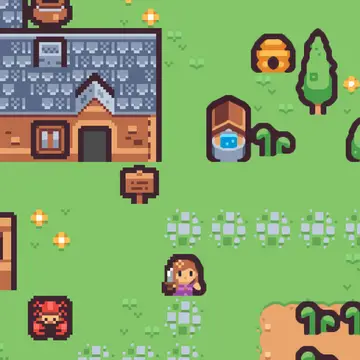
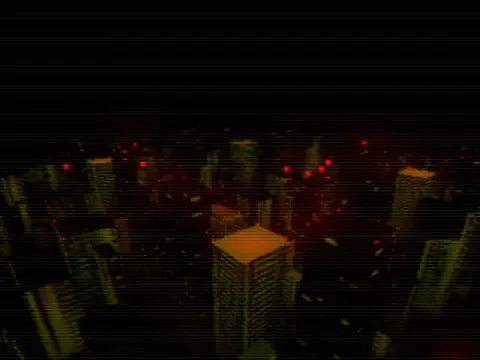
WARNING: if you're upgrading from any version prior to 1.4.0, you MUST follow the steps outlined in the link below. If you don't, your materials WILL break, and you'll have to fix them all MANUALLY! You only need to follow these steps once -- subsequent versions will not be reorganized again.https://github.com/Zorochase/ultimate-retro-shader-collection?tab=readme-ov-file#upgrading-from-v13--to-v14-- -- --Ultimate Retro Shader Collection (URSC) brings PlayStation, Sega Saturn or Nintendo 64 aesthetics to Godot 4.Features:- Vertex snapping and affine texture mapping (as seen on PlayStation and Saturn)- 3-point texture filtering (as seen on Nintendo 64)- Distance-based, per-vertex texture LOD and fog- Metallic and shiny shaders- 3D sprite shaders (shaded/unshaded, single/double-sided)- Scrolling sky shader (think Mario 64)- Screen-reading dithering and fade shaders- Create custom spatial shaders using macros- Compatible with all rendering backendsCheck out the collection's README on GitHub for documentation and a guide on getting set up. TLDR -- run the "setup.gd" editor script included with the collection to add the necessary global shader uniforms to your project settings.https://github.com/Zorochase/ultimate-retro-shader-collection?tab=readme-ov-file#readme
The Godot Sprite Shader Mixer is an add-on for Godot that allows Sprite2D and AnimationSprite2D (Label and ColorRect since version 1.2.0) nodes to blend shaders from a collection of available shaders. Users can select and add shaders to sprites dynamically, automatically downloading them from GitHub as needed. The plugin handles shader generation and blending, resulting in a texture that combines all selected shaders.The add-on allows you to download a set of shaders from a collection (the collection is public on GitHub and you can collaborate on adding new ones). Once downloaded the tool will mix them in a unique shader for your sprite. Since then you can manipulate the shader as usual, customizing the input variables of each shader.version 1.2.0 Update:- Added Label and ColorRect nodes to add shader mixer- default opacity parameter for all shadersVersion 1.1.0 Update:- Added a Search Manager Window to easily select the shaderBasic instructions:- You only need to download the addon folder to your project- Active the plugin- Select a Sprite2D or AnimatedSprite2D node (also Label and ColorRect since version 1.2.0)- At the right, you will see a button to create a shader mixer- Press the button to Sync the list of available shaders (ensure it is pressed, if not the combo will be empty)- Select a Shader and download it (repeat this if you want to merge several shaders)- Go to your material->Shader->Parameters to tune the shaderFULL INSTRUCTIONS AND EXAMPLES HERE: https://github.com/spheras/godot-sprite-shader-mixer#godot-sprite-shader-mixerIMPORTANT: Those shaders are compatible with GODOT 4.1, but not older versions.
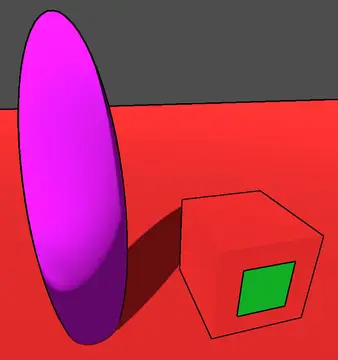
Fake interior shader with use single texture for roomPort of this shader: https://forum.unity.com/threads/interior-mapping.424676/#post-2751518Interior mapping shader which instead of cubemap, it uses texture atlas with room tiles that are front room view automatically mapped into a cube. The alpha channel value - uniform for whole tile - is used to determine the rear wall's relative distance.
A pack of retro/old-school post-processing shaders for Godot, containing 20 effects.Read https://github.com/Ahopness/GodotRetro/blob/main/README.md#instalation to setup them.
A set of shaders and a custom camera node to easily integrate post process outlines into your game. Works with both 2D and 3D games. Documentation at:https://github.com/jocamar/Godot-Post-Process-OutlinesIf you have any questions feel free to reach out to me on Twitter:https://twitter.com/joaomarinheiro
This plugin adds a new node for giving a volumetric lighting effect to light nodes they are attached too.It also supports Lexpartizan's Sky Shader.https://github.com/Lexpartizan/Godot_sky_shader.More info in the README file. Please read it.
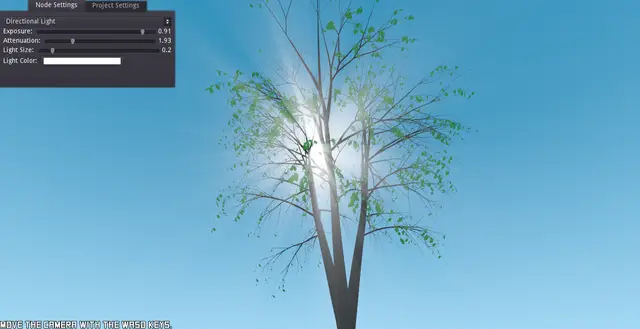
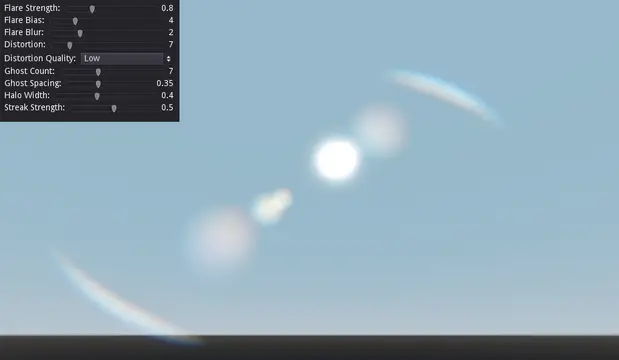
This plugin gives you the ability to have lens flare in your 3d projects. And it's procedural too; meaning you don't need to assign actual lens flare textures as long as you have a bright spot in your screen.Just install the addons folder to add it to your project.Find out more here: https://github.com/SIsilicon/Godot-Lens-Flare-Plugin
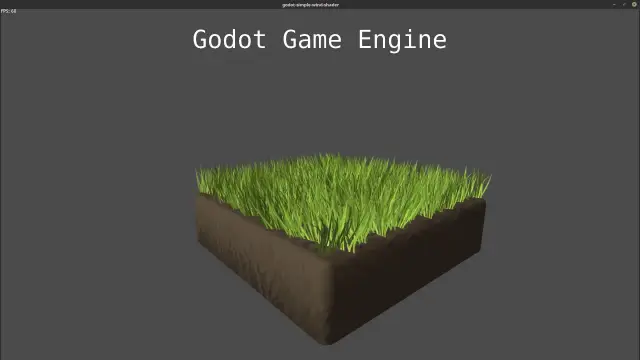
A simlpe shader that gives objects like grass or plants a wiggle/wind effect.Godot version 2.1 (3.0 planned)Demo Controls:Mouse + WASD or up/down/left/right key to move the camera. F1 to show/hide the frames/second.If you don't need the demo install only the shader folder or its content and follow the instructions:How to use the shader in your project:1. Copy the shader folder or at least its content somewhere into your project folder (See license details).2. Then open/select a mesh in godot and give the object a new ShaderMaterial if it haven't one. (Make sure that the mesh origion is on the right position see below: Shader parameters -> Height Offset ).3. Now go into the material settings and load one of the shaders that you have copied to your project folder.- "wind_shader.tres" is a version that is written in godots shading language. -"wind_shader_graph" is a version for the visual shader editor.4. Now you can add a texture to it and play with the shader parameters to get a nice result.Shader paramenters- Speed: The speed of the wind movement.- Strength: The strength of the wind movement.- Detail: The detail (number of waves) of the wind movement.- Direction: The direction of wind movement.- Height Offset: The height where the wind begins to move. By default 0.0, so everything over the object origin will have wind. (So make sure that you position the object on the right height or adapt it with this setting!)Issues/feature requests?:https://github.com/Maujoe/godot-simple-wind-shader/issuesChangelog:v1.0.1: - custom project icon