Phazor
COGITO : Immersive Sim Template
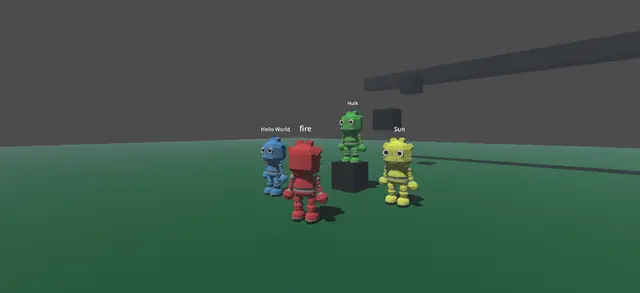
Latest: COGITO 1.1.6 for Godot 4.5.1COGITO is a Immersive First Person Starter Kit for Godot Engine 4. In comparison to other first person assets out there, which focus mostly on shooter mechanics, COGITO focuses on providing a framework for creating interactable objects and items.Current Features:- First person player controller with: - Sprinting, jumping, crouching, sliding, stairs handling, ladder handling - Fully customizable attributes like Health, Stamina, Visibility (for stealth), component-based, so easy to add your own. - Lots of exposed properties to tweak to your liking (speeds, headbob, fall damage, bunnyhop, etc.) - Easy-to-use dynamic footstep sound system- Inventory System - Flexible resource-based inventories - Inventory UI separate from inventory logic - Examples for multiple item types (consumables, keys, ammo, weapons, combinable Items) - Base class to easily add your custom item types- Interaction System - Component-based interactions makes it easy to turn your own objects interactive quickly and customize existing ones - Examples for interactive objects like doors, drawers, carryables, turn-wheels, elevators, readable objects, keypads- Cogito NPC - NavigationAgent based NPC with node-based state machine - Simple player detection system that uses detection areas + basic line-of-sight checks- Full game pad support!- Localization!- Systemic Properties (very WIP) - Give objects properties like "FLAMMABLE" or "WET" and they will interact with each other depending on their state and properties. - For example FLAMMABLE objects can be ignited by objects that are actively on fire. Can be extinguished by objects that are WET.- Basic Quest System- Save and Load System as well as scene persistency- Fully featured Demo Scene - Set up like a game level including a variety of objects, weapons and quests - In-game helper documents that explain how objects in the scene were set up- Full written documentation with additional video tutorials.Important:COGITO v1.1 is not 100% bug-free. While most features are set, be aware that this is hobbyist open source software. Use at your own risk and check Issues and Discussion pages for more information.